How to upload uMyo firmware from Windows
We’ll use openocd command in Powershell and a STLink v2 clone programmer.
- Install openocd via xpack (easier) or use the one you already have (optional: install nodejs, npm and xpm, the instructions and pointers as to how install all prerequisites can be found here: https://xpack.github.io/xpm/install/)
- Install openocd via xpack: https://xpack-dev-tools.github.io/openocd-xpack/docs/install/
- Download uMyo firmware binary on some folder on your computer: uMyo_v3_1.hex
- Connect swdio, swclk, gnd and 3v3 pins on the stlink to pogo pins in correct order (look at uMyo PCB)
- Connect STLink v2 programmer to USB port
- Install STlink drivers:
- download from here https://www.st.com/en/development-tools/stsw-link009.html#get-software and unpack them
- install drivers for STLink in Device Manager (This PC - right button click - Manage - Device Manager), it should not have drivers yet, right click on STLink in Device Manager - Update Drivers - Browse My Computer for Drivers - stlink drivers folder
- In Windows Powershell, go to the folder where you installed openocd-xpack and then to .bin where the command is: Path_to_openocd-xpack_Folder\xpacks.bin>
- Press STLink pogo pins to uMyo firmly and hold
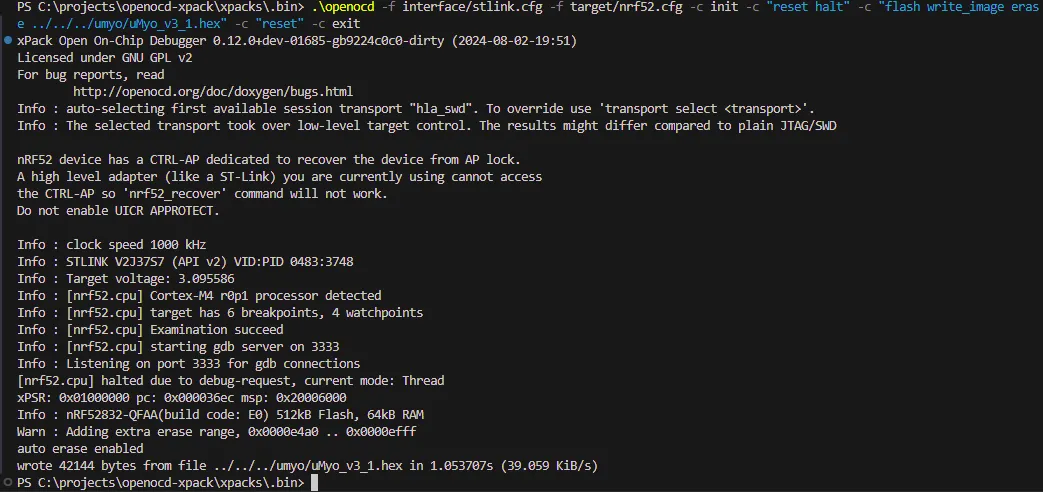
- Run the openocd command to upload firmware: .\openocd -f interface/stlink.cfg -f target/nrf52.cfg -c init -c “reset halt” -c “flash write_image erase Path_to_uMyo_hex/uMyo_v3_1.hex” -c “reset” -c exit
- The terminal should show successful upload which looks something like this:
